Install a luxurious marble door surround yourself! DIY guide or hire a pro for a flawless entryway.
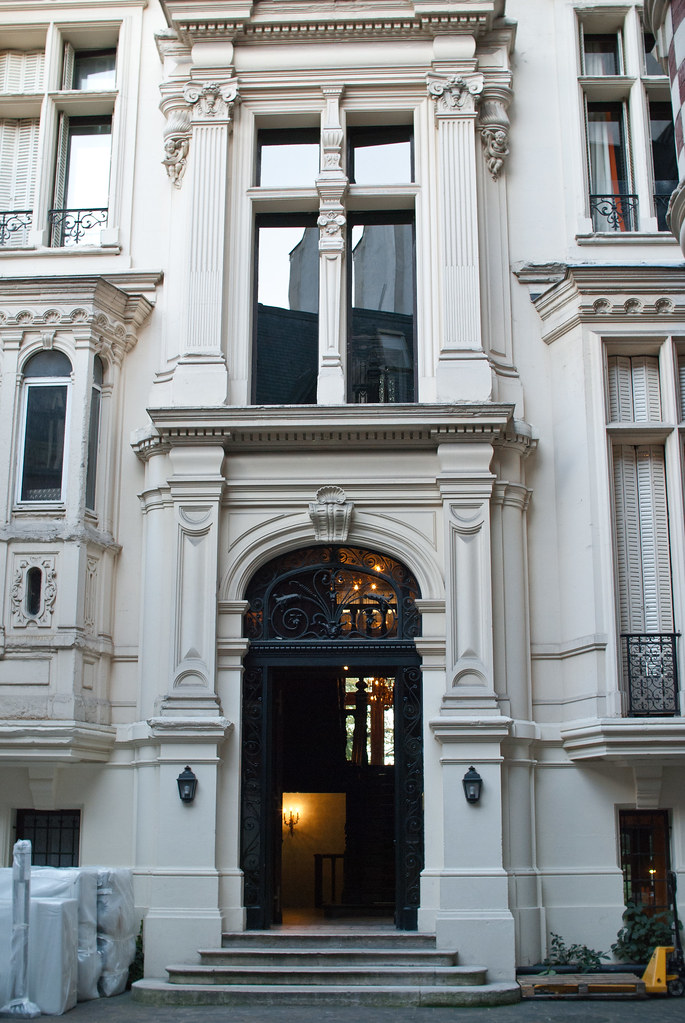
The first impression your home makes is crucial, and your entryway sets the tone. Imagine stepping into a foyer graced with a luxurious marble door surround. The cool, polished stone instantly conveys a sense of sophistication and timeless elegance. But achieving this high-end look doesn't require a hefty budget or professional help. With careful planning and a little DIY know-how, you can create a stunning marble door surround yourself.
This guide will walk you through every step of the process, from selecting the perfect marble to the final finishing touches. We'll break down the installation process into manageable phases, equipping you with the confidence to tackle this project and add a touch of grandeur to your home. So, grab your tools, unleash your inner designer, and get ready to transform your entryway with a DIY stone door surround!
Before diving into the installation, a little planning goes a long way in ensuring a smooth and successful project. Here's what you need to consider to create a stunning and functional marble door surround:
The type of marble you choose sets the aesthetic tone for your entryway. Here are some key factors to consider:
Popular options include Carrara (classic white with subtle veins), Calacatta (dramatic white with bolder veins), and Crema Marfil (warm beige with delicate veining).

Consider your existing décor and desired ambiance. Bold veins can make a statement, while subtle patterns offer a more understated elegance.
Choose between honed (matte) for a softer look or polished for a reflective, high-gloss finish.
Standard thickness for door surrounds is typically ¾ inch or thicker for a more substantial look.
Local stone yards or tile suppliers are great resources. They can offer expert advice and showcase a variety of marble options to help you find the perfect match for your vision.
Accurate measurements are essential for a seamless installation. Here's what you need to measure meticulously:
Measure the width, height, and depth of your door frame.
Determine the desired width and depth of your marble surround.
Aim for a surround that's proportionally balanced with your doorway size. A wider surround creates a more dramatic effect, while a narrower one offers a subtler touch.
Having the right tools on hand will make the installation process efficient and safe. Here's a list of essentials:
Wet saw, level, measuring tape, safety glasses, gloves, dust mask.
Marble tiles or slabs (based on your measurements), thin-set mortar, grout (matching your marble color), spacers, sponge, sealant, bucket, mixing trowel.
Don't have a wet saw? No worries! Many hardware stores offer wet saw rentals for a reasonable price. Now that you've planned and prepared, you're ready to embark on the exciting installation process!
With your plan in place and tools gathered, it's time to transform your doorway! Here's a step-by-step guide to installing your front door surround:
The wet saw will be your trusty companion for this task. Here's how to use it safely and effectively:

Always wear eye protection, gloves, and a dust mask while operating the wet saw.
Using your precise measurements, mark the marble tiles/slabs for cutting with a pencil.
Secure the marble piece firmly on the wet saw bed.
With a steady hand, slowly guide the marble through the saw, following your marked lines.
Use a continuous cutting motion for clean and even edges.
Remember: If you're not comfortable using a wet saw, consider having your marble cut to size at the store during purchase.
Now that your marble pieces are ready, let's prep the doorway for a flawless installation:
Use a level to check the wall around the doorway for any unevenness. Minor imperfections? You can address them with patching compound to create a smooth surface.
Remove any dirt, dust, or debris from the wall surface where the marble will be applied. This ensures optimal adhesion between the marble and the wall.
The moment of truth! Here's how to meticulously install your marble masterpiece:
Following the manufacturer's instructions, mix the thin-set mortar to a smooth, spreadable consistency.

Using a notched trowel, apply a thin layer of mortar to the back of each marble piece, ensuring even coverage. Don't forget the wall! Spread a thin layer of mortar directly onto the prepared wall surface.
Carefully lift the mortared marble piece and position it onto the doorway, aligning it perfectly with your measurements.
As you place each piece, insert small spacers between the marble tiles to ensure consistent grout lines.
Continually check the level of each marble piece as you install them. A slight tap with a rubber mallet can help achieve perfect alignment.
Once your marble surround is securely in place, it's time for the finishing touches:
After the thin-set mortar has cured according to the manufacturer's recommendations, mix and apply grout following the instructions. Fill the gaps between the marble tiles completely.
Using a damp sponge, remove excess grout haze from the marble surface before it dries. Work diagonally across the tiles to avoid disturbing the grout in the joints.
Once the grout has completely cured (refer to grout curing time), apply a high-quality stone sealer to the marble surface. This protects the stone from stains and moisture damage.
Congratulations! You've successfully installed your very own marble door surround. The next section will guide
Your stunning beautiful front door is almost complete! This section explores some optional finishing touches to personalize your creation and elevate its visual impact.
For an extra dose of elegance, consider adding decorative trim around the perimeter of your marble surround. Here are some popular choices:

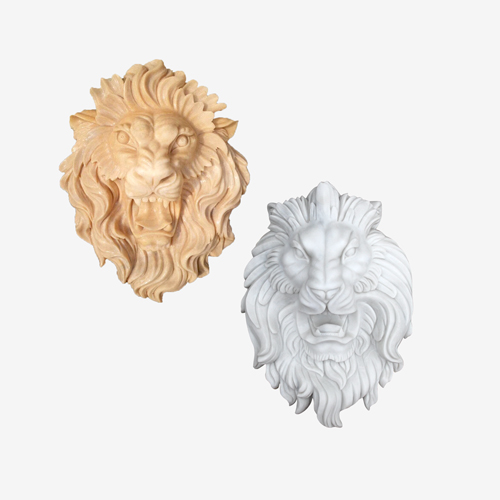
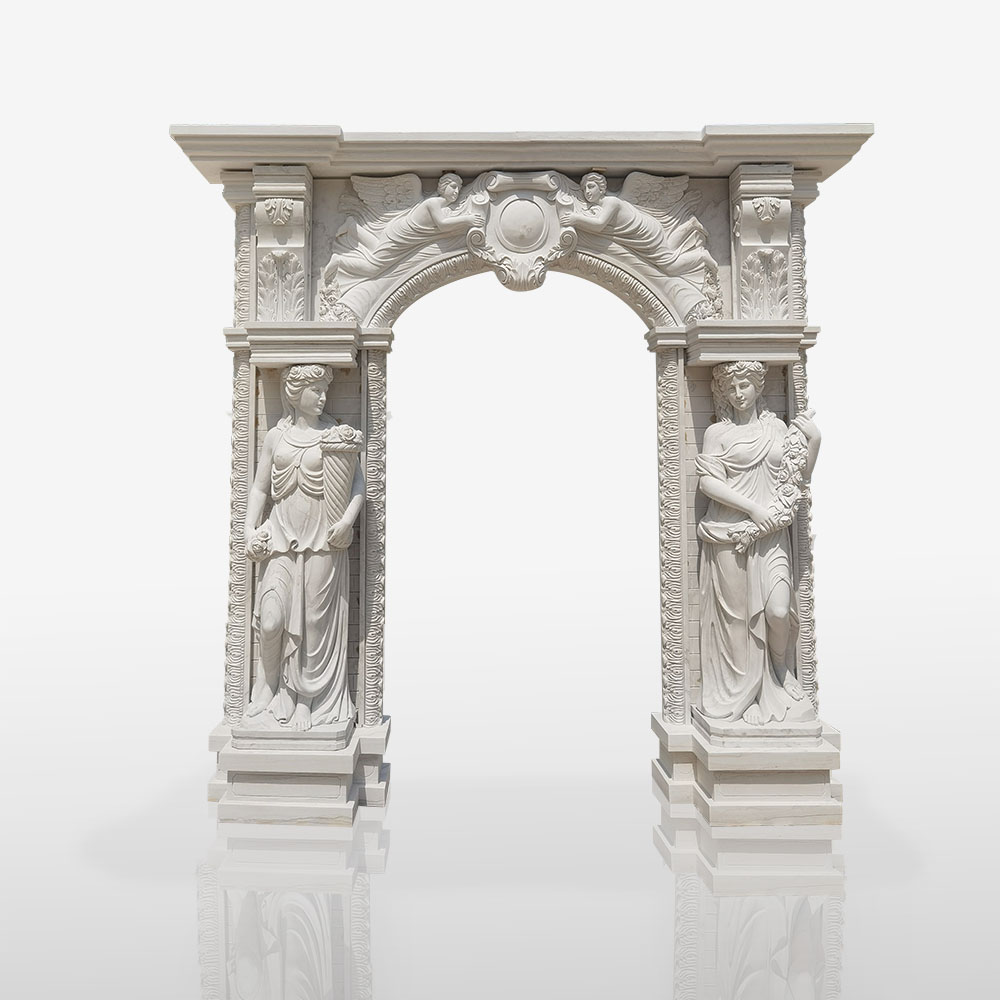
(White Marble Doorsurround With Caryatid Column)
A chair rail installed horizontally above the midpoint of the surround adds a sophisticated touch.
Running crown molding along the top edge of the surround creates a grand and finished look.
Installing beadboard paneling around the entire doorway adds a touch of charm and complements farmhouse or cottage aesthetics.
Choosing the right trim material depends on your existing décor and desired style. Opt for wood trim painted to match your walls or a contrasting color for a bolder statement.
After the grout cures and the sealant dries, give your marble surround a final polish using a soft, lint-free cloth and a stone polishing compound specifically formulated for marble. This enhances the stone's natural shine and adds a touch of brilliance.

The beauty of your marble surround lies in its simplicity, but you can add a touch of personality with some well-chosen accessories:
Install sconces on either side of the doorway to highlight the marble's beauty and create a warm, inviting ambiance.
A seasonal wreath hung above the doorway adds a touch of festivity or a pop of color.
Upgrade your existing doorknobs with elegant hardware that complements the marble's sophistication.
Remember: Keep the overall style balance in mind when adding accessories. Don't overwhelm the clean lines of your marble surround with too much clutter.
While this guide equips you with the knowledge for a DIY marble door surround, some may desire a truly unique and awe-inspiring entrance. Enter Marbleism, a company that elevates the concept of a door surround from mere framing to a sculpted masterpiece.
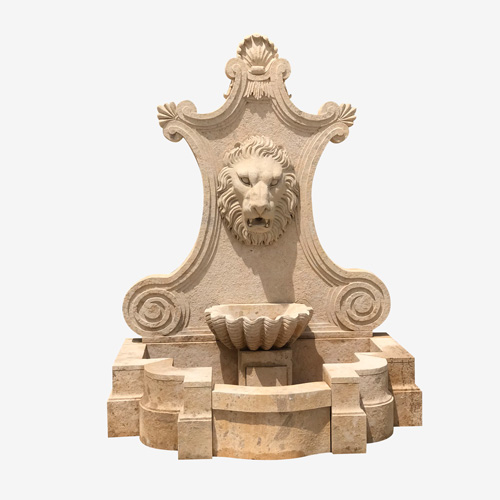
Imagine a modern-day Michelangelo, meticulously hand-carving exquisite designs into cool marble. That's the artistry Marbleism brings to every door surround they create. They don't just manufacture surrounds; they craft stories in stone, translating your vision into a timeless conversation piece that welcomes guests to your haven.

(Marble Doorway With Four Columns)
The beautiful marble door surrounds featured throughout this article are just a taste of what Marbleism can do. They offer a vast selection of customizable options, from classic elegance to contemporary flair. Perhaps you envision intricate floral patterns, majestic columns flanking the doorway, or a personalized family crest etched into the stone. Marbleism's skilled artisans can transform your desires into reality.
For those seeking the ultimate in quality, visual appeal, and a truly bespoke entryway experience, look no further than MarbleismVisit their website to explore the plethora of stone door surround options available and embark on a journey to create a personalized masterpiece that reflects your unique style and sets the stage for your home's grand story.
This depends on your desired aesthetics and budget. Popular choices include Carrara (classic white), Calacatta (dramatic white with veins), Crema Marfil (warm beige), but there are many other options to explore. Consider factors like color, veining, finish (honed or polished), and thickness.
Cutting marble requires a wet saw and proper safety gear. If you're comfortable using a wet saw and have experience cutting stone, you can do it yourself. Otherwise, most stone yards or tile suppliers can cut the marble to your specifications for a fee.

A level is crucial throughout the installation process. Check the level of the wall before installation and use a level as you place each marble piece to ensure perfect alignment.
Use a high-quality, unsanded grout specifically formulated for natural stone like marble. Choose a color that complements your marble's shade.
Absolutely! Sealing the marble protects it from stains, moisture damage, and etching. Use a high-quality stone sealer designed for marble and follow the manufacturer's instructions for application.
While DIY customization might be tricky, some pre-made surrounds offer limited modification options like adding trim around the perimeter. For extensive customization or truly unique designs, consider going with a company like Marbleism that specializes in handcrafted stone door surrounds.
Congratulations! You've explored the exciting world of DIY marble door surround installation. This guide has equipped you with the knowledge and steps to create a stunning and sophisticated entryway yourself.
Remember, installing a entrance door design requires precision, patience, and the right tools. While this project is achievable for DIY enthusiasts, it can also be a time-consuming undertaking.

If you crave a truly flawless and stress-free experience, consider hiring a professional stone mason. Their expertise ensures perfect cuts, seamless installation, and a breathtaking final result that elevates your home's value and curb appeal.
No matter your choice, installing a marble door surround, DIY or professional, adds a touch of timeless elegance and luxury to your home. So, embrace your inner designer, grab your tools (or contact a qualified professional!), and embark on the journey to transform your entryway into a show-stopping masterpiece
This is recommended


This is recommended
This is recommended